Revitalize Your Space: Essential Steps for a Successful Interior Painting Project

Are you ready to breathe new life into your home with a fresh coat of paint? A well-executed interior painting project can transform the look and feel of your living space. However, before you dive into the world of color swatches and paint rollers, it’s crucial to prepare your home properly. In this guide, we’ll walk you through the essential steps to ensure a successful and long-lasting interior paint job.
The Importance of Painting Prep
Before you start selecting paint colors, it’s essential to recognize the significance of proper painting preparation. Adequate preparation not only enhances the final result but also contributes to the longevity of the paint job. Skipping this crucial step can lead to issues such as peeling, uneven surfaces, and a less durable finish.
Preparing for a Painting Project: 7 Essential Steps
Step #1: Assessing Your Walls
Begin your painting journey by thoroughly assessing the condition of your walls. Look for cracks, holes, or imperfections affecting the paint application. Fill these gaps with a high-quality filler, sand the surface, and ensure a smooth canvas for your new paint.
Step #2: Cleaning and Priming
A clean surface is essential for optimal paint adhesion. Dust and grime can hinder the paint from bonding correctly, leading to uneven coverage. Clean your walls with a mild detergent and water solution, and don’t forget to rinse thoroughly. Once dry, apply a primer to create a uniform surface and enhance paint adhesion.
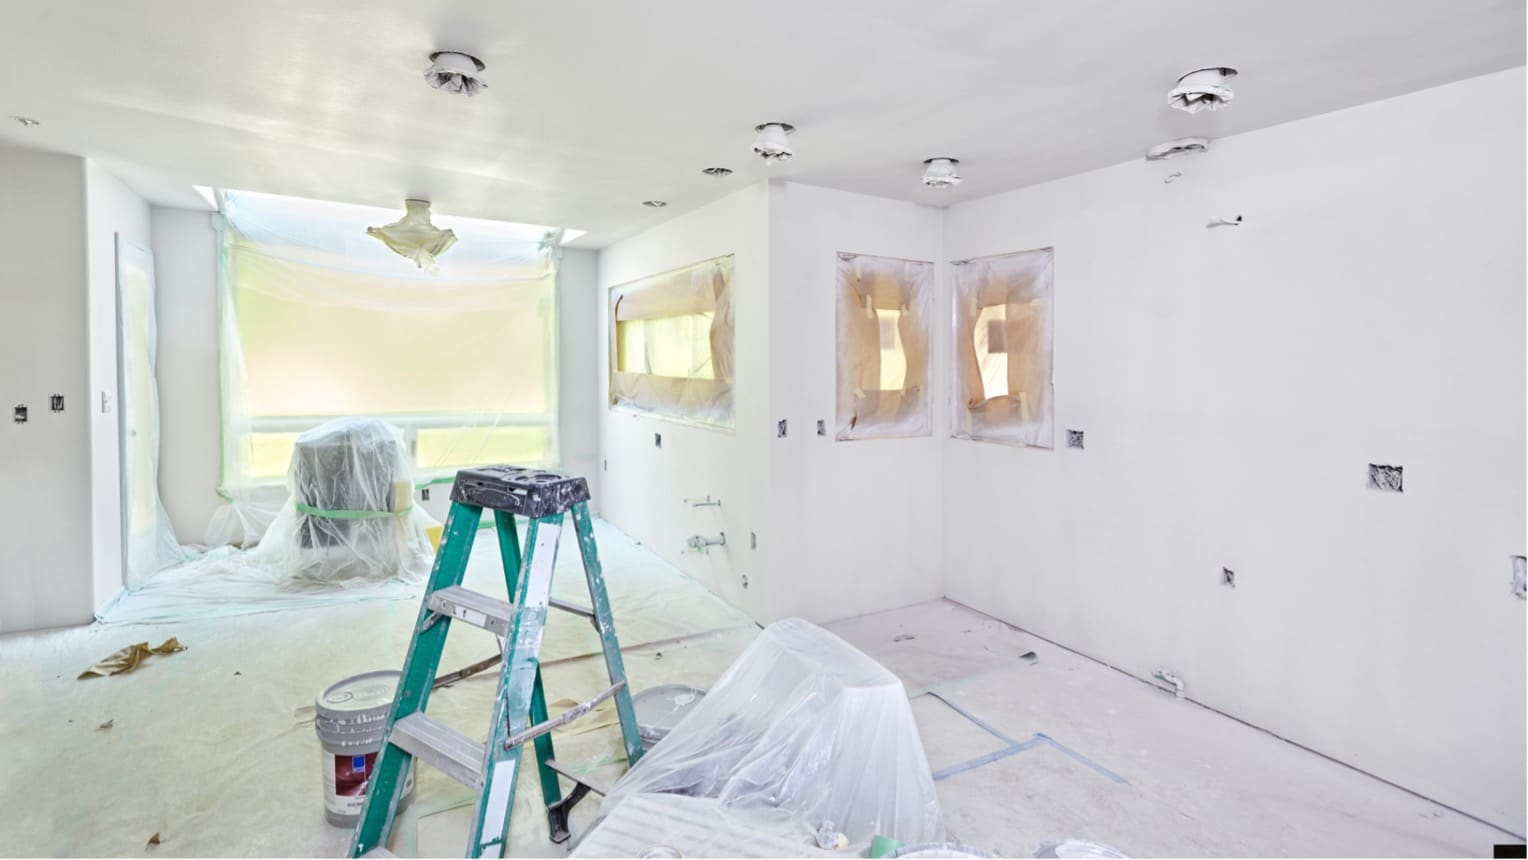
Step #3: Protecting Your Furniture and Floors
Painting is a messy job, and accidental spills or splatters can happen. Safeguard your furniture and floors by covering them with drop cloths or plastic sheets. This precautionary step prevents damage and makes the cleanup process much more manageable.
Step #4: Removing or Covering Fixtures
Removing or covering fixtures such as light switches, outlet covers, and doorknobs is crucial to achieving a polished look. This ensures that every inch of your walls receives an even coat of paint without hindrance.
Step #5: Choosing the Right Paint
Selecting the right type and finish of paint is equally important. Consider the function of the room and the level of traffic it receives. Kitchens and bathrooms, for example, may require a more durable and washable paint. Different finishes, such as matte, satin, or glossy, offer varying aesthetic and practical benefits.
Step #6: Proper Ventilation
Adequate ventilation is often overlooked but is crucial during a painting project. Open windows and doors to allow proper airflow, minimizing the inhalation of fumes. Consider using low-VOC or zero-VOC paints for a more eco-friendly and healthier painting experience.
Step #7: Taking Breaks and Allowing Drying Time
Patience is critical when it comes to interior painting. Allow sufficient drying time between coats to achieve a professional finish. Taking breaks also ensures that you remain focused and deliver meticulous results.
Contact Stanford Painting for Expert Assistance
Preparation is the foundation of a successful interior painting project. By following these essential steps, you’ll enhance your home’s aesthetic appeal and ensure a durable and long-lasting finish. As you start to plan your interior painting project, consider contacting the professionals at Stanford Painting. With years of experience and a commitment to quality, we can turn your vision into reality.
For a stress-free and expertly executed painting experience, contact us today at 650-321-9302 to request a quote for your upcoming project.


